How to understand silver hallmarks and maker’s marks
When I first learned how to read silver, I realized that the tiny symbols stamped into a piece can tell a surprisingly rich story. Silver hallmarks and maker’s marks reveal where an item was made, who created it, and often how pure the metal is. If you enjoy collecting, decorating with vintage pieces, or shopping with more confidence, learning these marks will help you make better choices and avoid costly mistakes. For anyone following a silver buying guide, this knowledge is one of the most practical tools you can have.
What Silver Hallmarks Actually Tell You
A hallmark is an official stamp applied to precious metal items to certify their metal content. In practice, it helps me answer a few basic questions:
- Is the piece actually silver, or only silver-plated?
- How pure is the silver?
- Where was it assayed or inspected?
- When was it made, or at least when it was certified?
Common Hallmark Elements
Different countries use different systems, but many silver items may include:
- Purity mark: such as 925, 800, or sterling
- Assay or office mark: the symbol of the testing authority
- Date letter: a code that can indicate the year
- Town or city mark: the place of assay
- Duty mark or standard mark: used in some systems to show official certification
The presence or absence of these marks matters. A clearly stamped set of hallmarks often gives me much more confidence than a vague “silver” inscription alone.
Maker’s Marks and Why They Matter
A maker’s mark identifies the person or company responsible for making the piece. It is usually a name, initials, monogram, or symbol. While hallmarks tell me about metal quality, maker’s marks tell me about origin and craftsmanship.
What I Look For
When I examine a maker’s mark, I ask:
- Is the mark clean and consistent?
- Does it match known marks from a particular silversmith or company?
- Does it look hand-stamped, machine-applied, or worn down by age?
A well-known maker can raise both the historical interest and the value of a piece. Even an obscure mark can be useful, because it may lead to a specific workshop, region, or period.
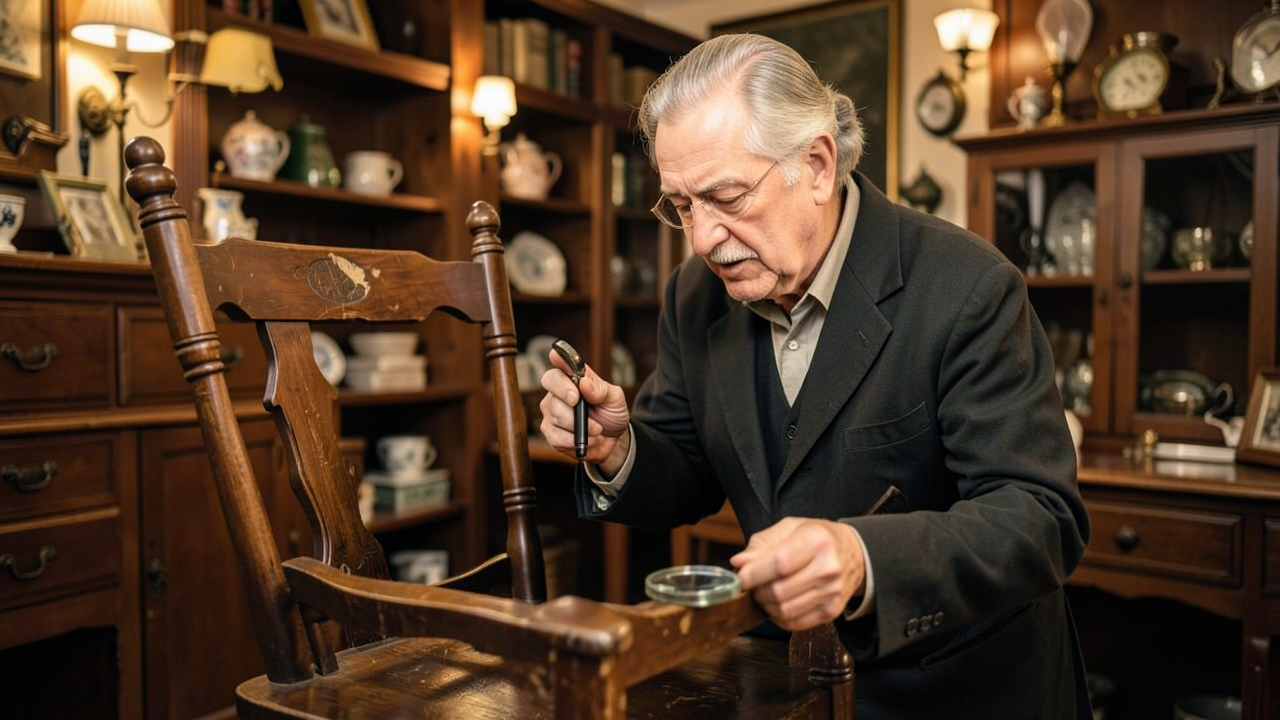
How I Start Identifying Silver
If you are learning identifying silver, I suggest beginning with the most visible clues and moving slowly toward the finer details. I usually follow this order:
1. Check the Weight and Feel
Real silver tends to have a substantial, balanced feel. It is not always heavy, but it rarely feels flimsy in the same way as base metal. That said, weight alone is not proof.
2. Inspect the Surface and Wear
I look for natural tarnish, soft wear on raised details, and subtle inconsistencies that come with age. Silver-plated items may show base metal where the plating has rubbed away, especially on handles, rims, or edges.
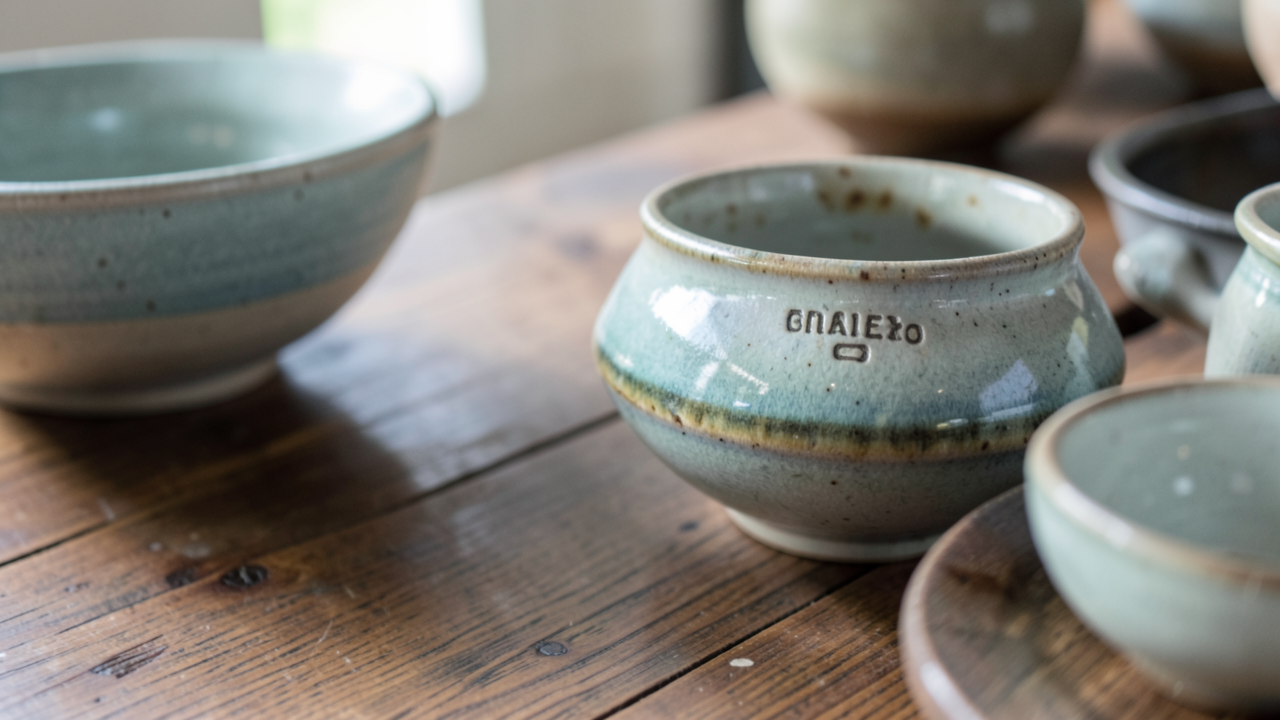
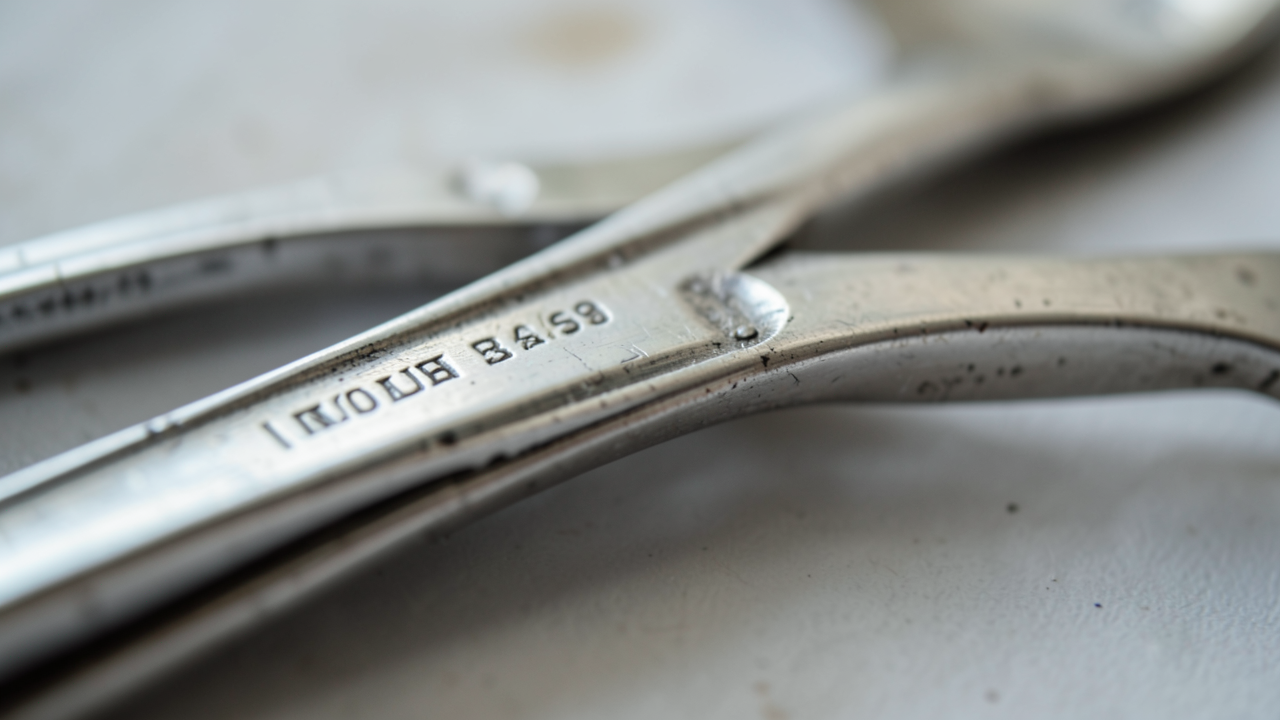
3. Locate All Marks
Marks are often tucked away in discreet places:
- On the underside of bowls or trays
- Near handles or hinges
- Inside lids
- Along the back of spoons and forks
- On the base or stem of decorative objects
A magnifying glass or phone camera can help. Many marks are tiny, and good lighting makes a major difference.
4. Compare the Symbols
Once I find the marks, I compare them with reliable reference charts or hallmark databases. The order of symbols can matter, so I pay attention to sequence as well as shape.
Reading Common Silver Standards
Not every silver item uses the word sterling. In fact, many regions rely on numeric purity marks. Here are a few common ones:
- 925: sterling silver, meaning 92.5% silver
- 800: 80% silver, common in some continental European silver
- 958: Britannia silver, with a higher silver content
- Coin silver: historically varied, often around 90% silver in older American pieces
Sterling and Beyond
When I see 925, I usually think of modern sterling silver. But older pieces can be marked differently depending on country and era. A piece without “sterling” can still be genuine silver, so I never rely on wording alone.
Maker’s Marks Versus Hallmarks: The Difference
This distinction saves a lot of confusion.
- Hallmarks certify metal quality and often include official symbols
- Maker’s marks identify the creator or manufacturer
A piece may have both, one, or neither. For example, silver-plated items often have a maker’s mark but no hallmark proving purity. That does not make them worthless, but it changes what I expect in terms of value and collectability.
Practical Tips for Buying Silver Confidently
If you are using this knowledge as part of a silver buying guide, these habits will help:
Ask to See the Marks Up Close
I never rely only on a seller’s description. A quick close-up photo can reveal more than a verbal claim.
Use Reference Sources
Hallmark charts, silver guides, and museum references help me verify symbols. One mark by itself can be misleading, but several clues together usually tell the truth.
Watch for Reproductions
Some modern pieces imitate antique hallmarks. I pay attention to style, wear, font, and overall construction, not just the stamp.
Consider the Entire Object
A genuine mark on a damaged or heavily altered item may not guarantee strong value. Condition, design, maker, and provenance all matter.
Key Clues I Always Remember
- Silver hallmarks usually indicate purity and official testing
- Maker’s marks point to the workshop, company, or silversmith
- Mark locations are often hidden on undersides, handles, and interiors
- Numeric standards like 925 and 800 are common purity indicators
- Silver-plated pieces may show maker’s marks without true silver certification
- Age, wear, and construction should support the marks, not contradict them
A Smarter Way to Read Silver
The more I study silver, the more I appreciate that hallmarks and maker’s marks are not just technical details. They are a record of craftsmanship, trade, and trust. If you learn to read them carefully, identifying silver becomes far less intimidating and much more rewarding. Whether you are decorating a home, collecting vintage pieces, or comparing items in a shop, these small stamps can guide you toward better decisions and more meaningful purchases.